Localization Setup
Configure geographic data, address validation rules, and country groups in CURQ 18.
1. Overview of Localization Settings
CURQ includes comprehensive geographic registries under Contacts > Configuration > Localization. These settings ensure consistent postal addresses, valid international tax identifiers, and automated tax or regional pricing calculations across sales and invoicing.
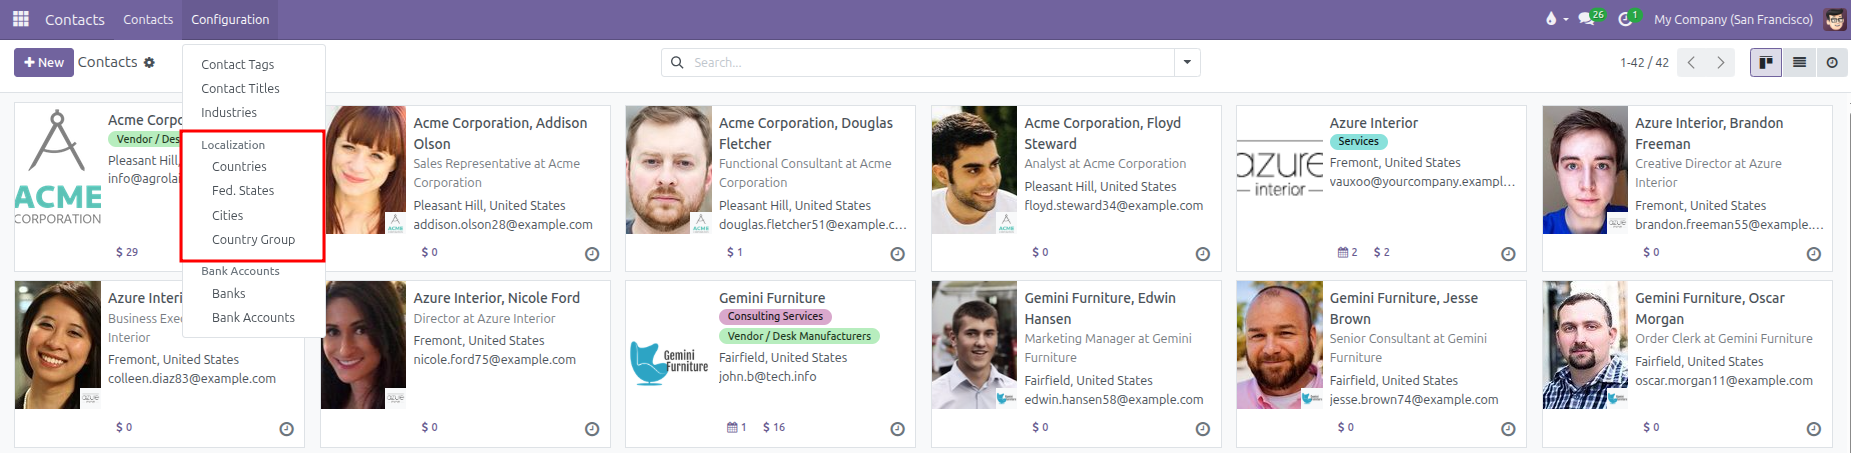
The Localization section includes four dedicated directories:
Countries: Sovereign nations, two-letter ISO codes, national currencies, international telephone calling codes, and address layout formats.
Fed. States: Administrative states, provinces, and territories linked to specific countries.
Cities: Cities and municipality directories linked to postal codes and regional states.
Country Group: Regional groupings (such as the European Union, SEPA, or North America) used to apply regional sales pricelists and fiscal tax positions.
2. Access the Localization Menus
To manage geographic settings:
Open the Contacts app from the main dashboard.
In the top navigation bar, click Configuration.
Under the Localization section, select one of the four menus:
Countries
Fed. States
Cities
Country Group
3. Manage Countries and Address Formatting
CURQ pre-loads all official world countries. To inspect or customize country rules:
Navigate to Contacts > Configuration > Localization > Countries.
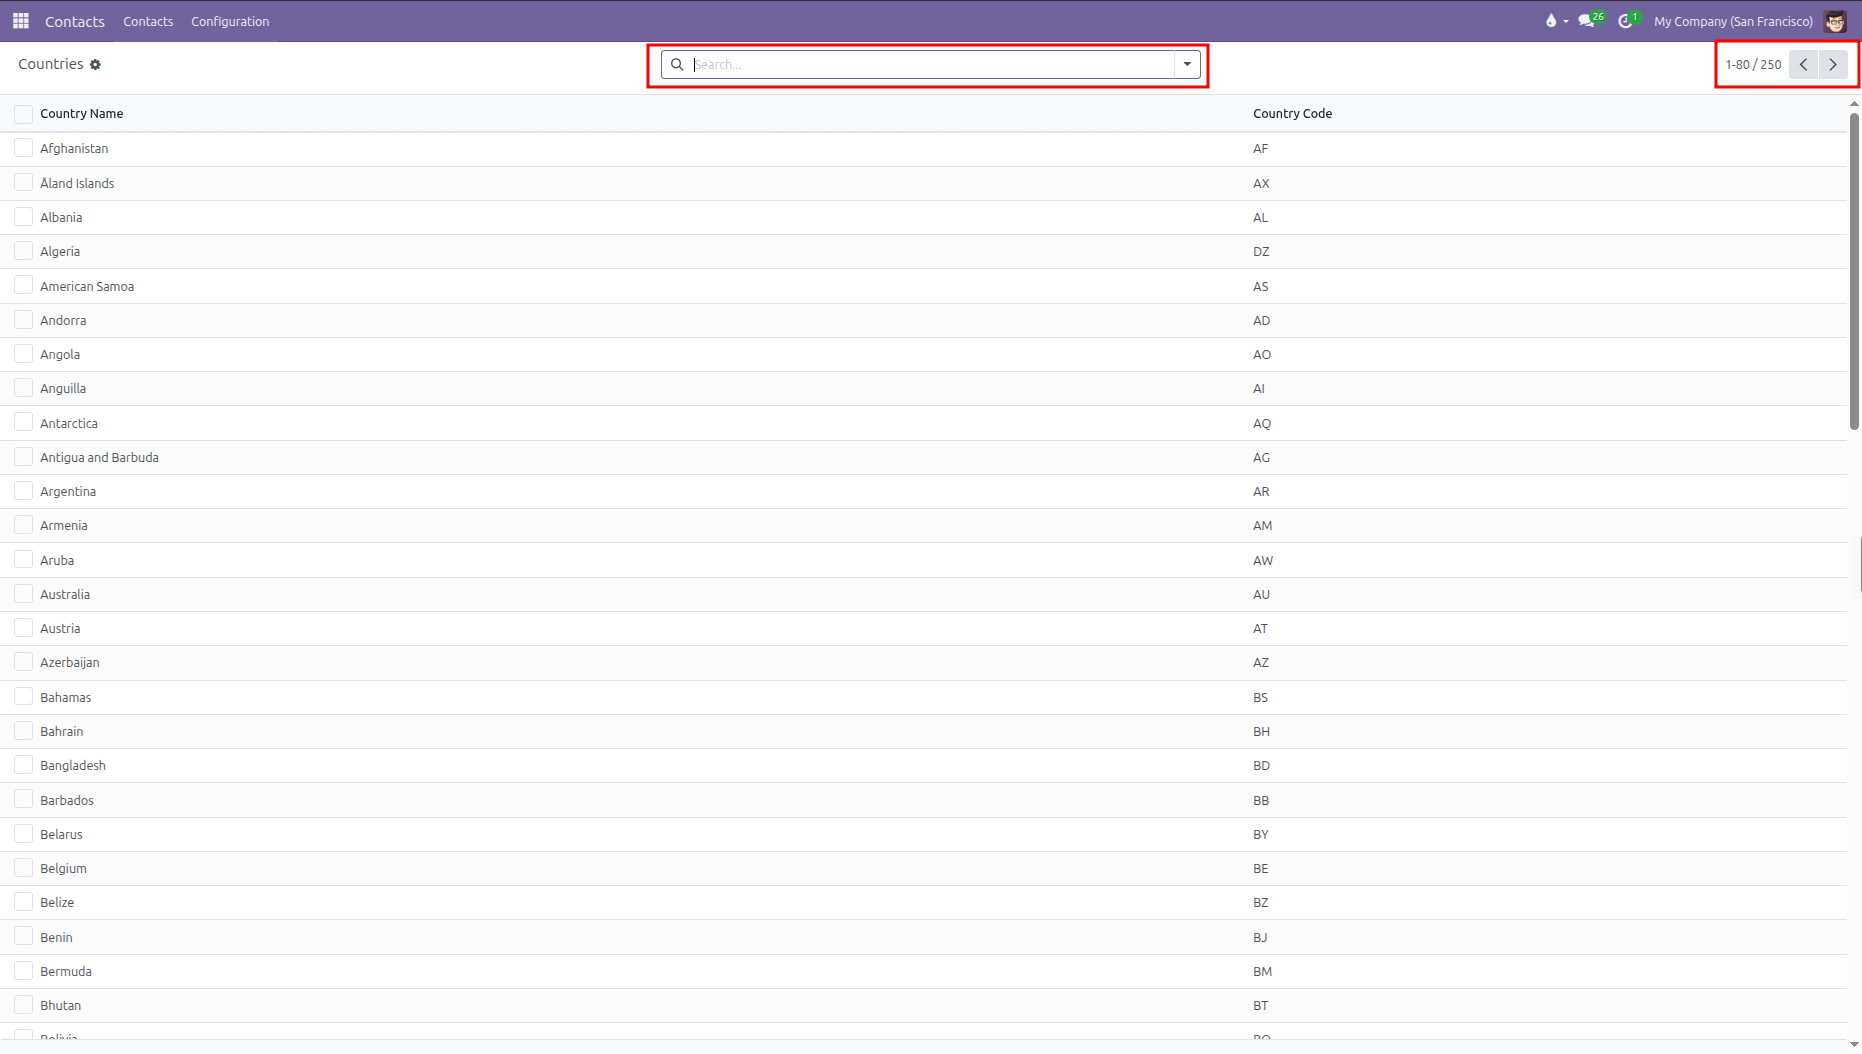
Click any country in the list to open its configuration form (such as
India).
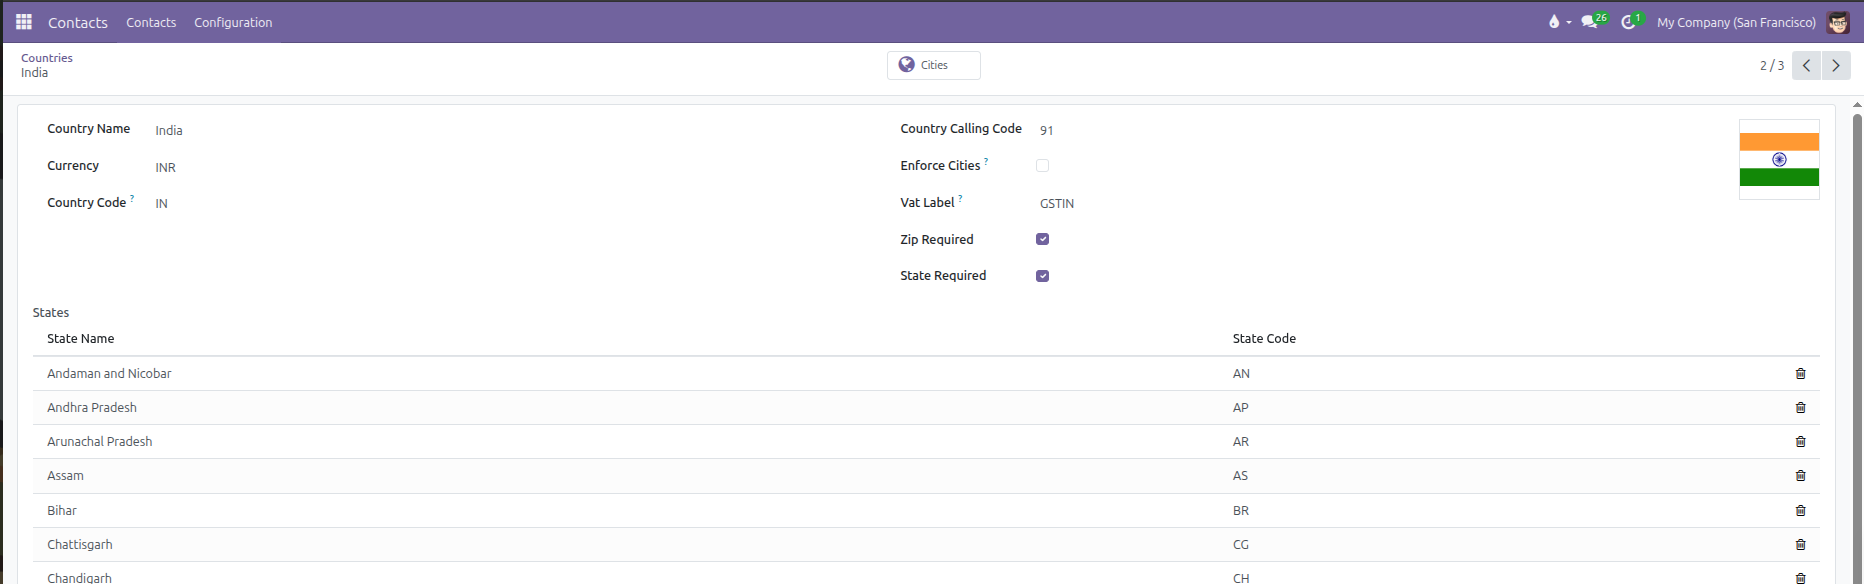
Configure the country parameters:
Field |
Description |
Practical Effect |
|---|---|---|
Country Name |
Official name of the nation (such as |
Displays on contact address cards and shipping documents. |
Currency |
Default national currency (such as |
Suggested automatically when creating customer invoices and sales orders. |
Country Code |
Standard two-letter ISO country code (such as |
Enables quick searching and validates tax identification numbers. |
Country Calling Code |
International dialing prefix (such as |
Formats phone and mobile contact numbers automatically. |
Enforce Cities |
Toggle requiring contacts in this nation to choose an existing city from the registry. |
Prevents spelling variations in city names across partner addresses. |
Vat Label |
Custom title for the tax identification field (such as |
Replaces the default Tax ID label on contact forms for local clarity. |
Zip Required |
Toggle requiring a postal or ZIP code before saving an address. |
Stops users from saving incomplete delivery or billing locations. |
State Required |
Toggle requiring a state or province selection before saving an address. |
Ensures accurate regional taxation and legal address compliance. |
States |
Sub-table listing all regional states, provinces, or territories with their names and short codes. |
Provides the allowable state choices in contact address dropdowns. |
(The form header also includes a Cities smart button that links directly to all cities registered under this country).
Click Save (cloud icon) to store any adjustments.
4. Configure Federal States and Provinces
To manage states, provinces, or regional territories:
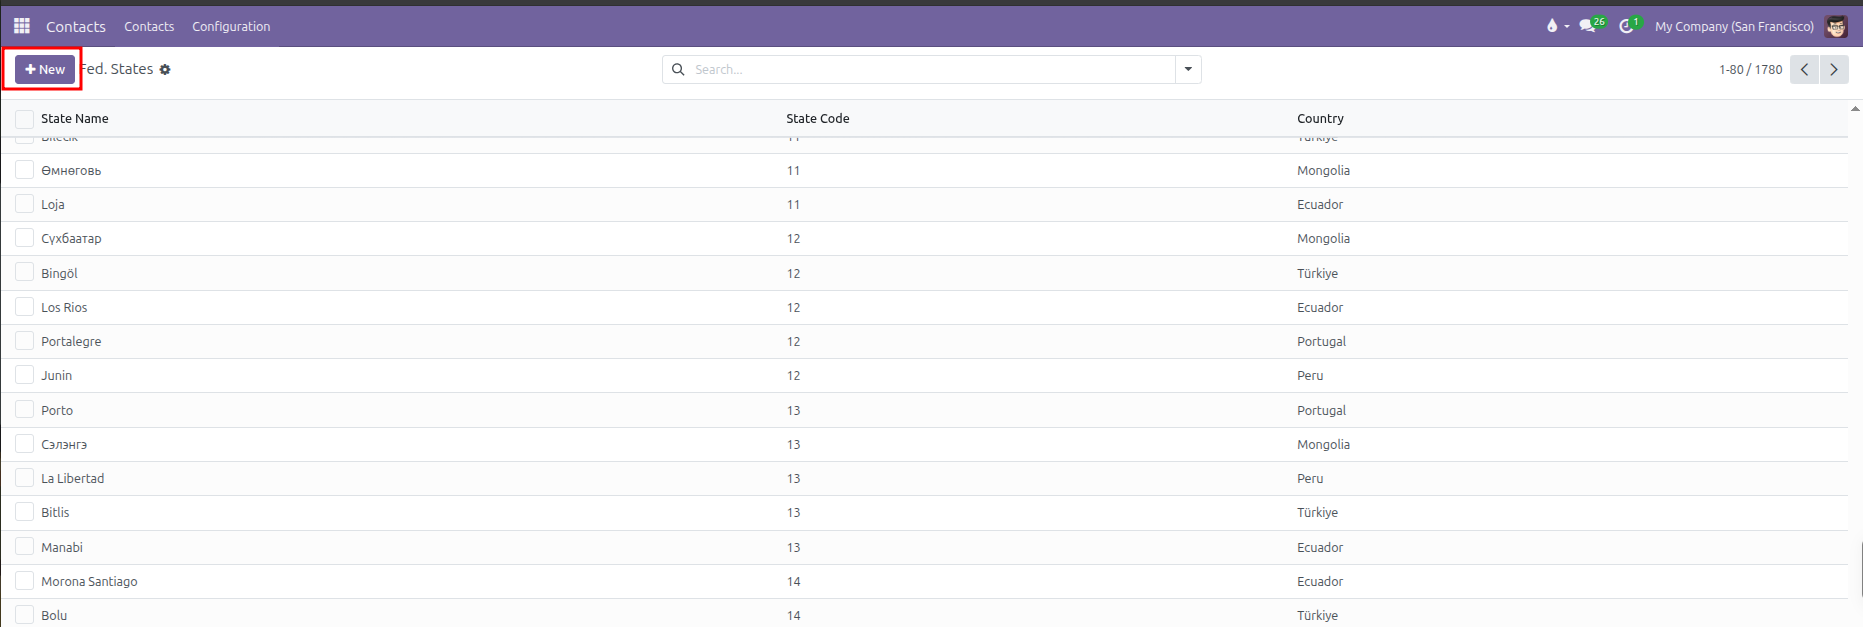
Navigate to Contacts > Configuration > Localization > Fed. States.
Click New at the top left (or click an empty bottom row) to add a state.
Enter the required details:
Field |
Description |
Practical Effect |
|---|---|---|
State Name |
Full name of the state or province (such as |
Appears in state dropdown selectors on contact address blocks. |
State Code |
Standard short code (such as |
Printed on standardized shipping labels and tax summaries. |
Country |
Nation that the state belongs to. |
Filters states so users only see valid choices for the selected country. |
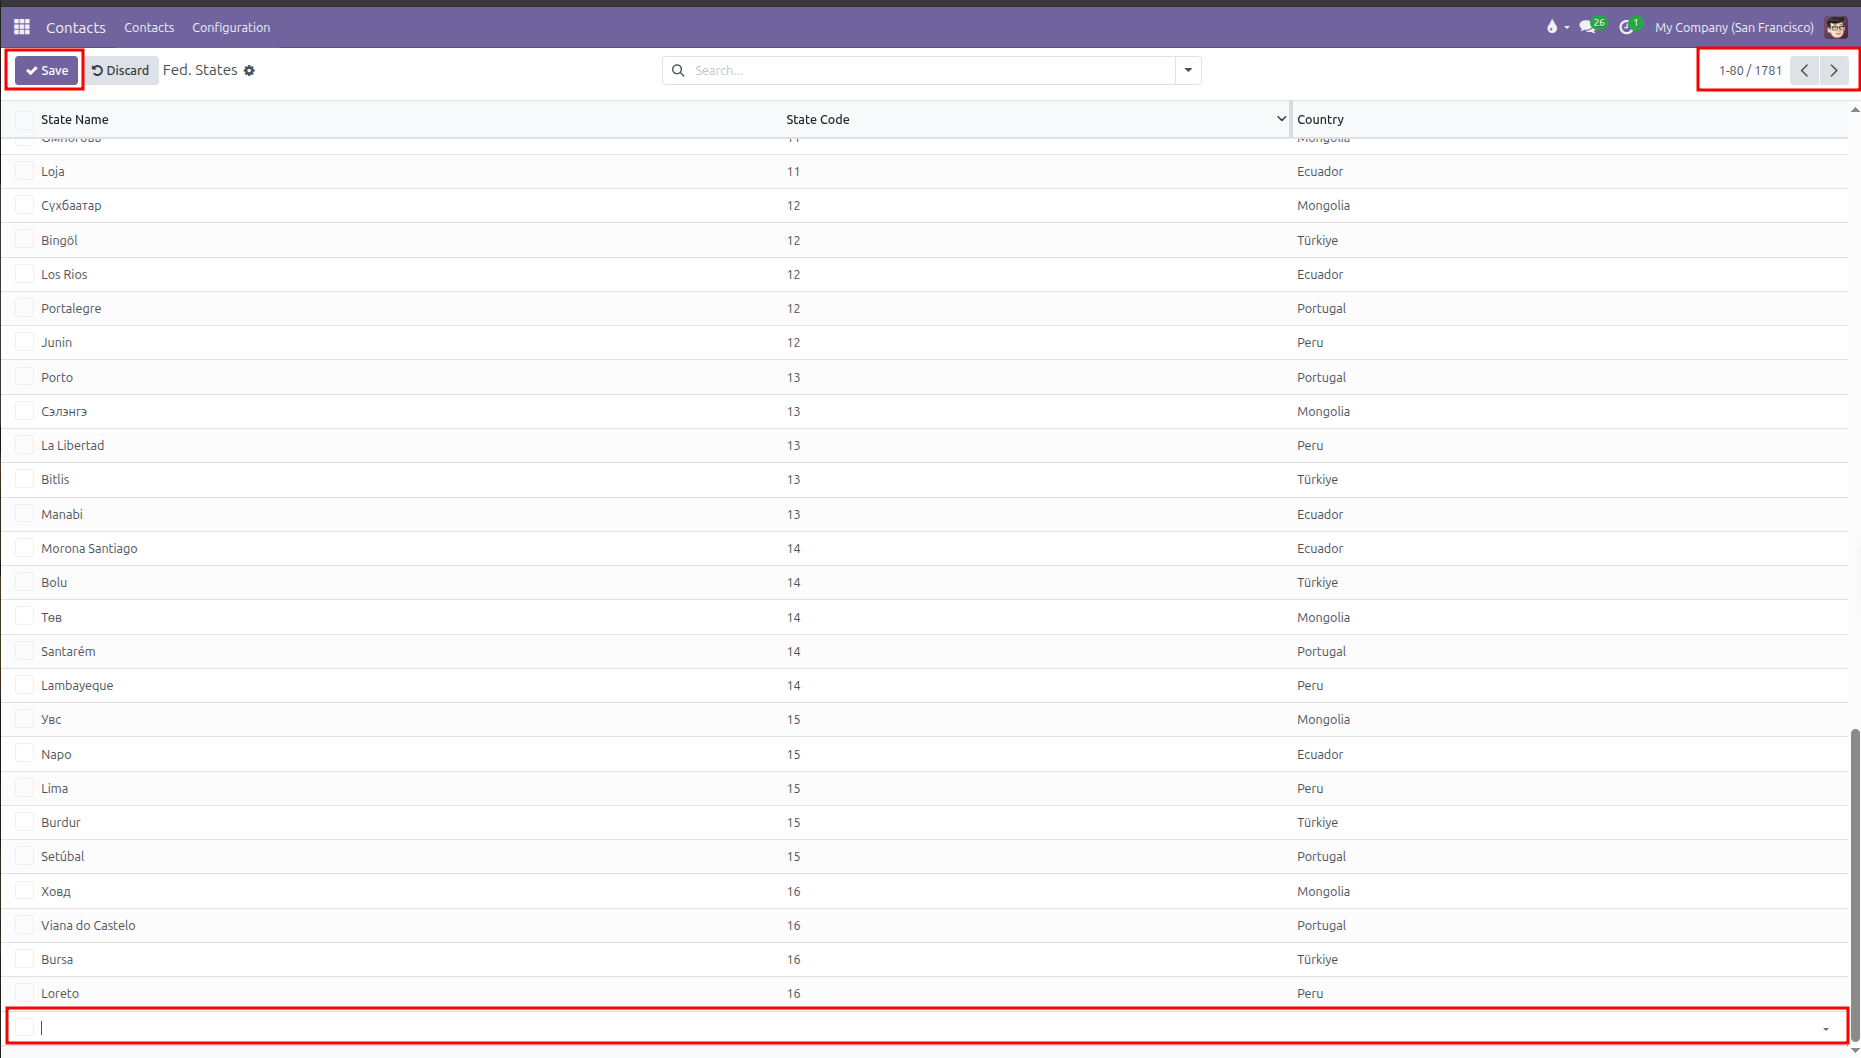
Click outside the row or click Save at the top left to keep the record.
5. Set Up Cities and Postal Codes
CURQ provides a directory of cities to simplify address entry:
Navigate to Contacts > Configuration > Localization > Cities.
Click New at the top left of the table.

Fill in the inline row:
Name: Name of the municipality (such as
East Delhi).Zip: Postal code for the city (such as
110092).Country: Nation where the city is located (such as
India).State: Regional state or province (such as
Delhi (IN)).

Click Save at the top left to store the city.
(When users type a recognized postal code on a contact card, CURQ automatically populates the city, state, and country).
6. Group Countries for Regional Pricing and Taxes
Country groups organize multiple nations into single commercial zones:
Navigate to Contacts > Configuration > Localization > Country Group.
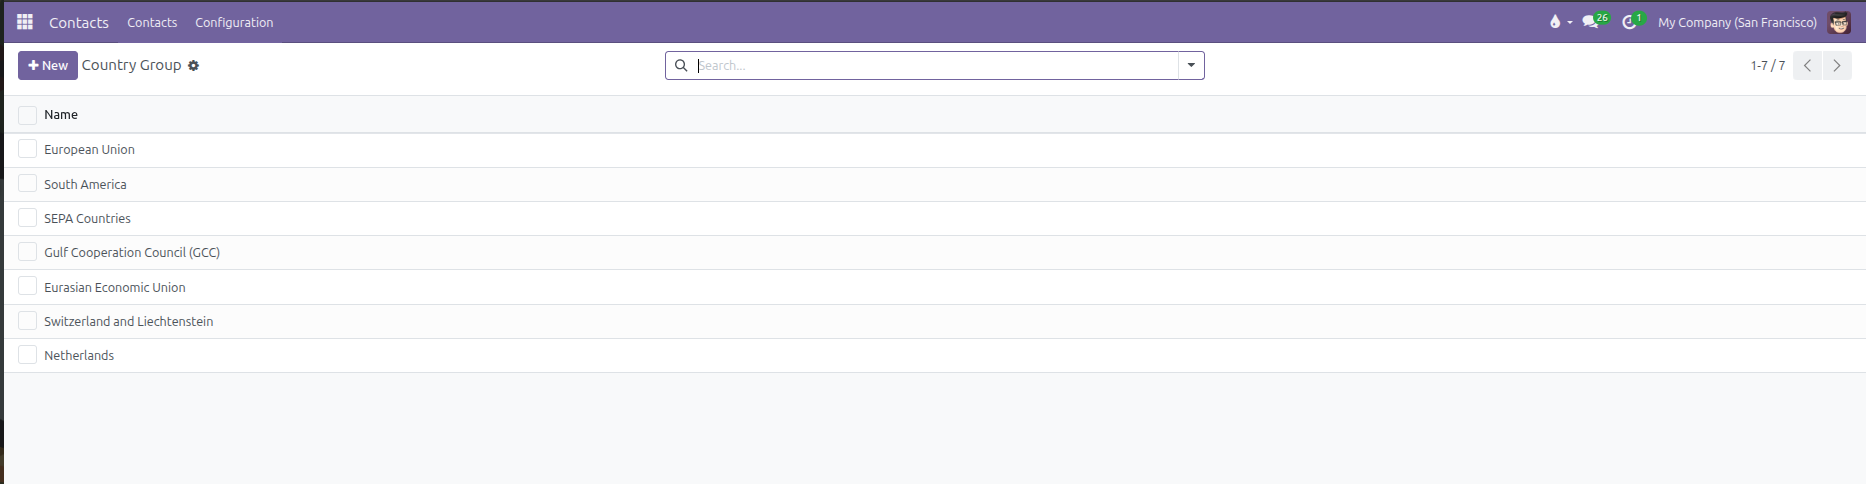
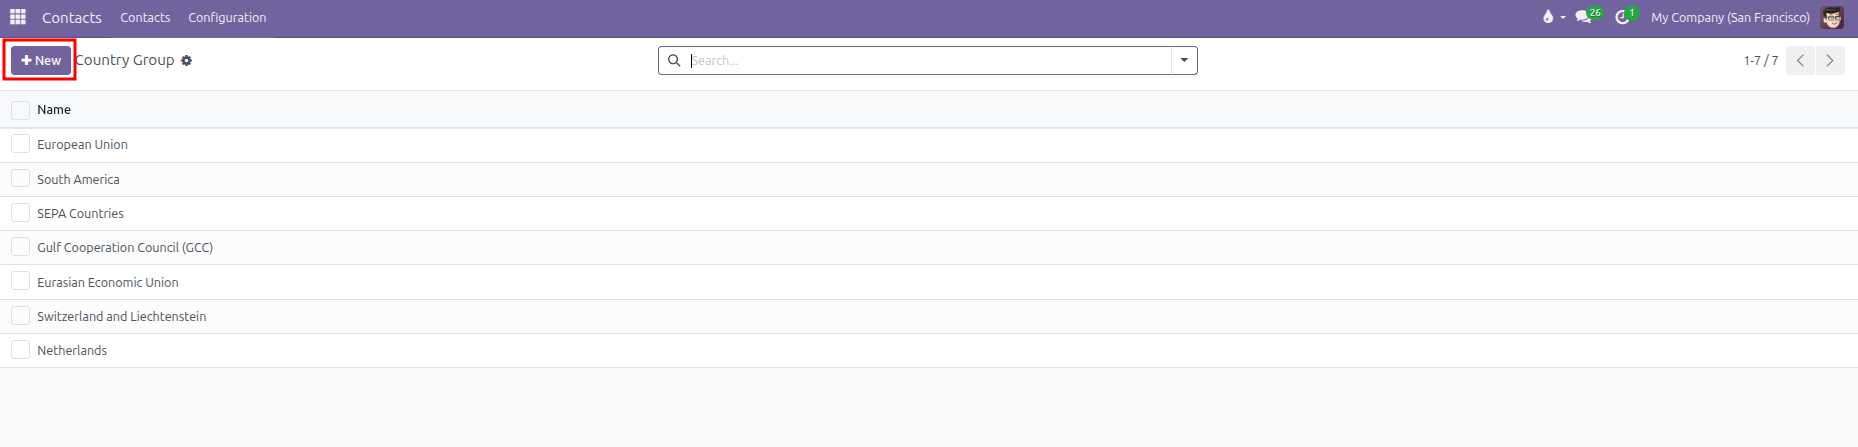
Click New at the top left to create a custom group (or select an existing group like
European Union).
Set the Group Name (for example,
North AmericaorSEPA Countries).In the Countries field, select all nations included in this economic or trade region.
In the Pricelists section, link regional sales pricelists if special commercial pricing applies.
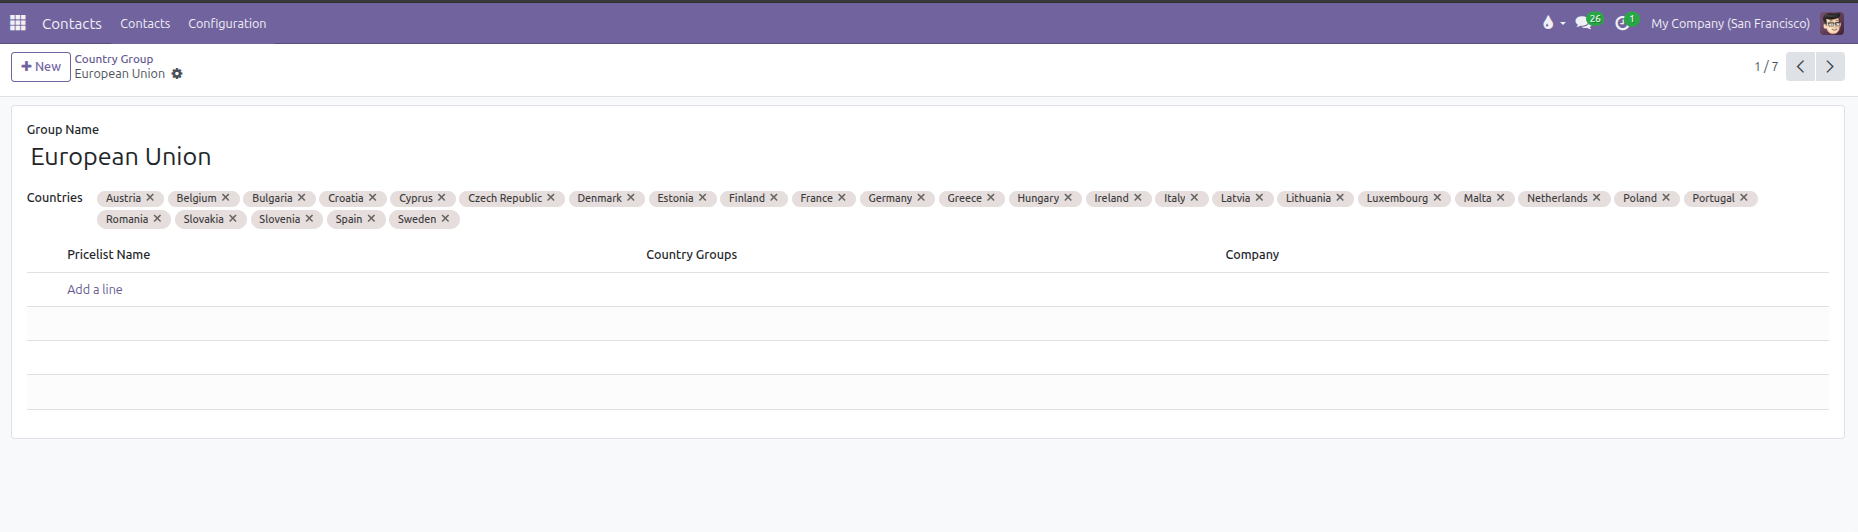
Click Save (cloud icon) to store the group.