Creating a Quotation
Follow these quick steps to create and send a quotation in CURQ 18:
1. Start a New Quote
Open the Sales app from the main menu.
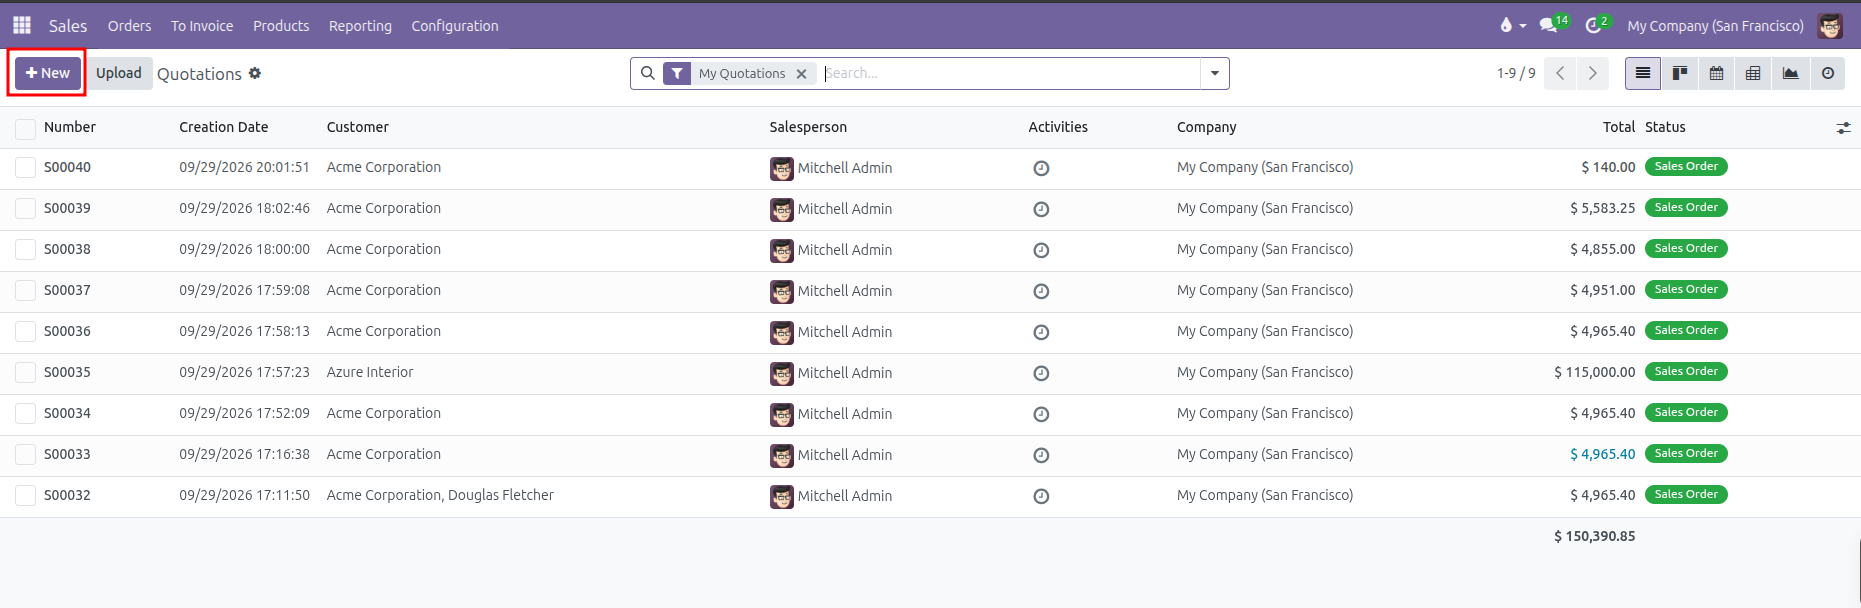
Click New at the top left to open a blank quotation.
2. Choose the Customer
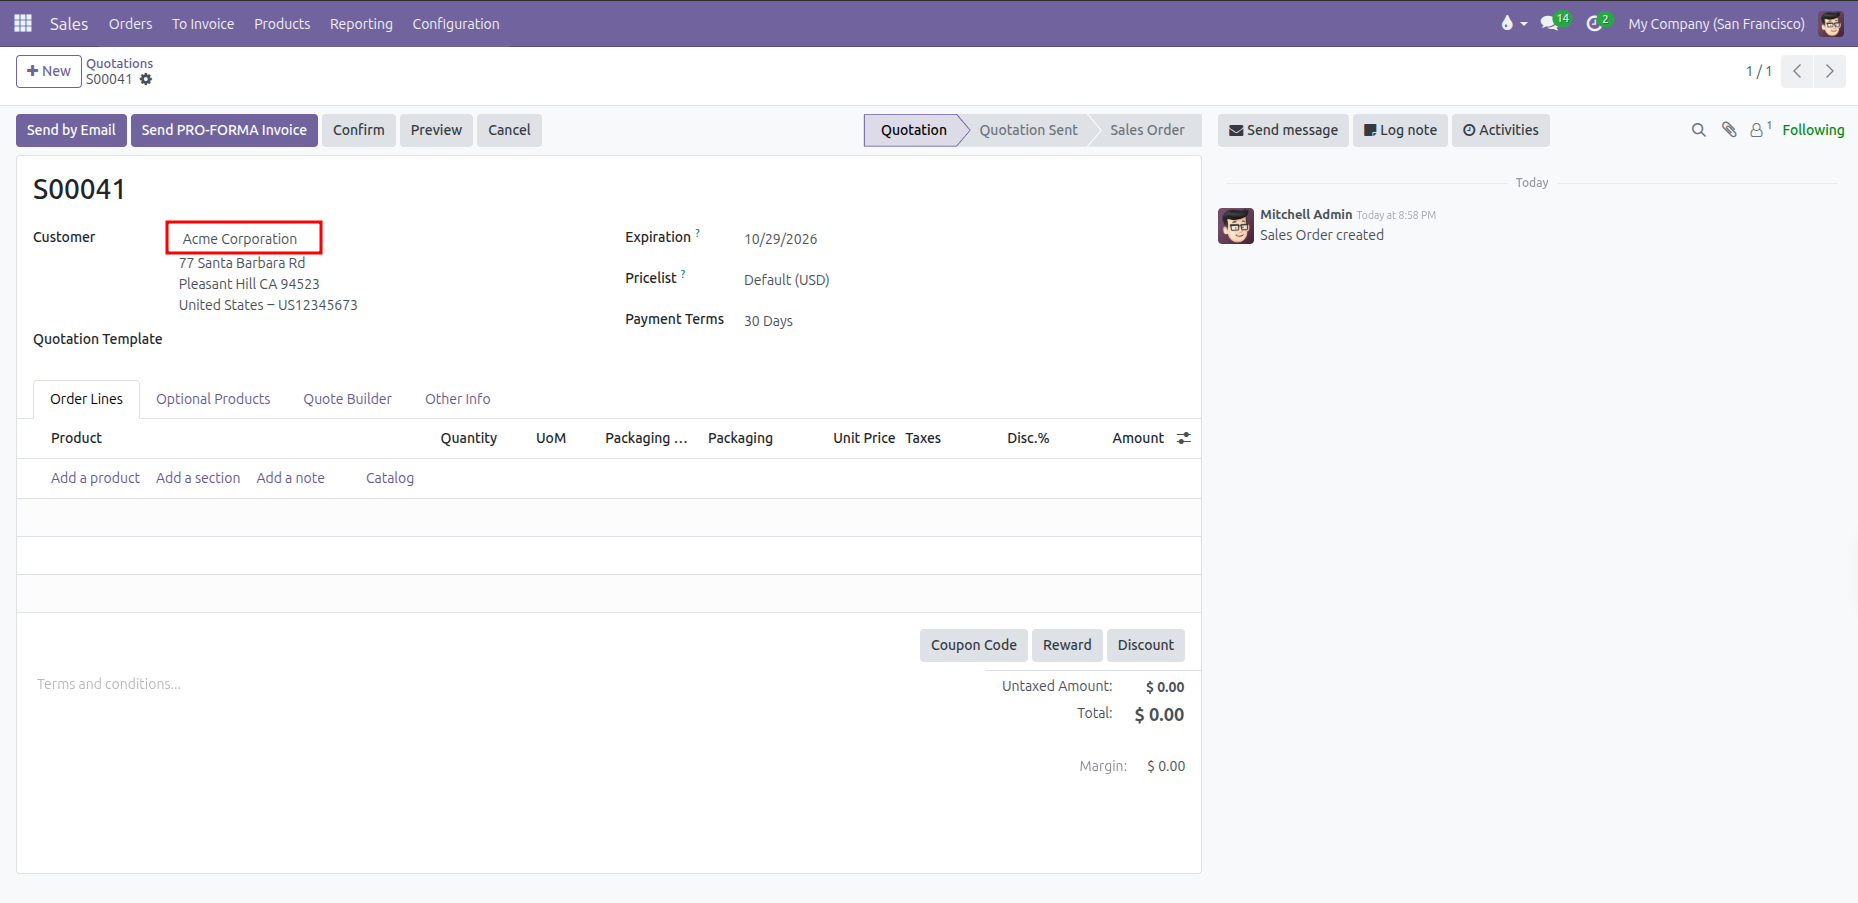
Select your customer in the Customer field. The system automatically fills in their Invoice Address, Delivery Address, Pricelist, and Payment Terms. (You need to enable Pricelists from Sales > Configuration > Settings)
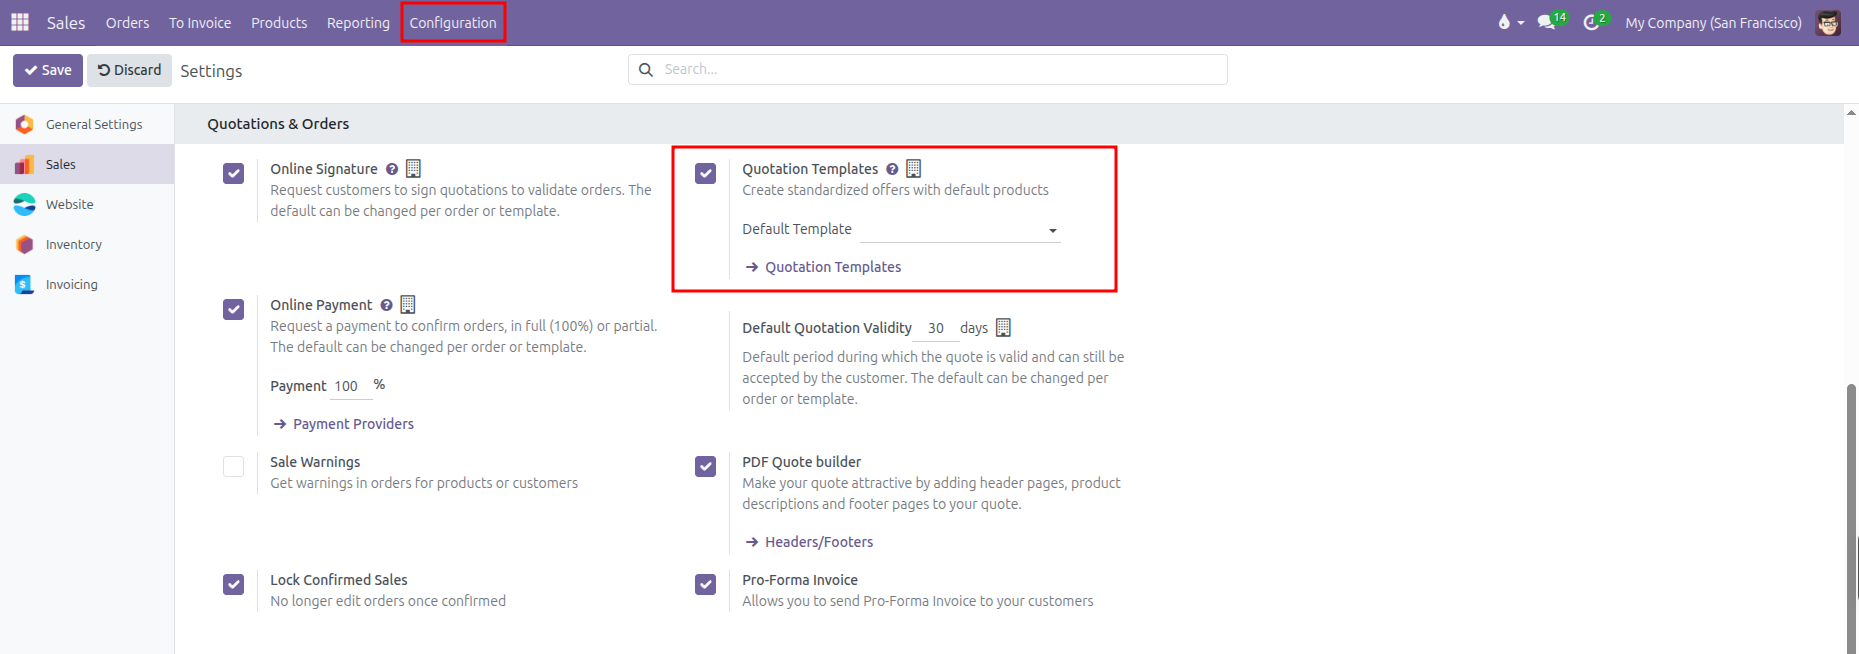
(Optional) Select a Quotation Template to load prefilled items and default terms. (You need to enable Quotation Templates from Sales > Configuration > Settings)
Set an Expiration date to specify how long your quote stays valid.
(Refer to Managing Customers to create and manage customers) (Refer to Pricelists and Pricing Rules to set up pricelists) (Refer to Quotation Templates to set up quotation templates)
3. Add Products
Under the Order Lines tab, click Add a product.
Select your item, enter the Quantity, and adjust the Unit Price or Discount if needed. (You need to enable Discounts from Sales > Configuration > Settings)
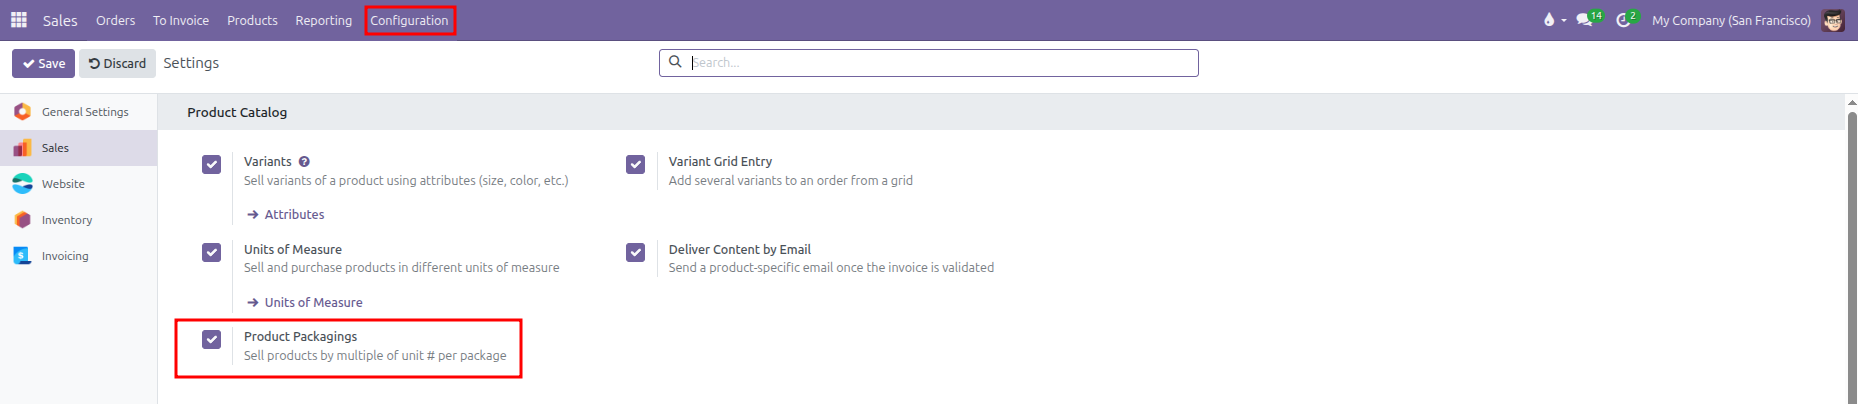
If selling in packages or bulk units, select a Packaging type and enter the Packaging Quantity. (You need to enable Product Packagings from Sales > Configuration > Settings)
(Optional) Click Catalog to browse items visually with pictures and add them with one click.
(Optional) Use Add a section or Add a note to organize products with headings or custom text.
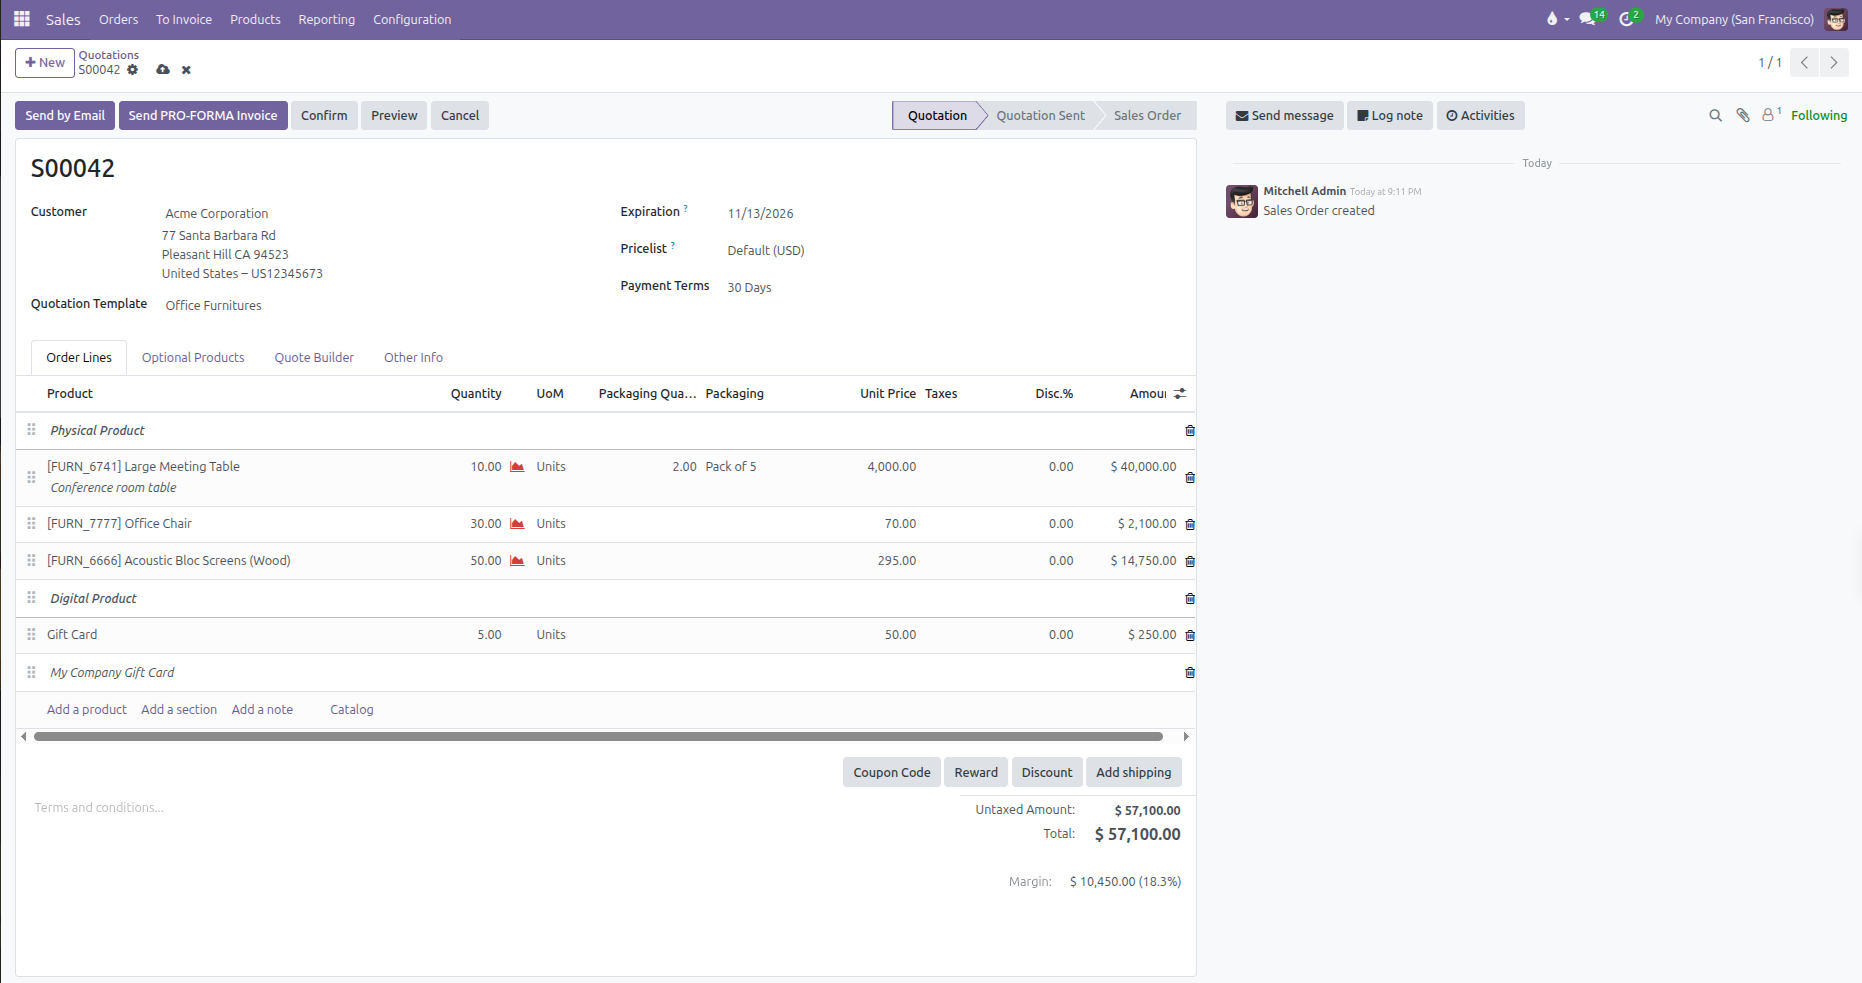
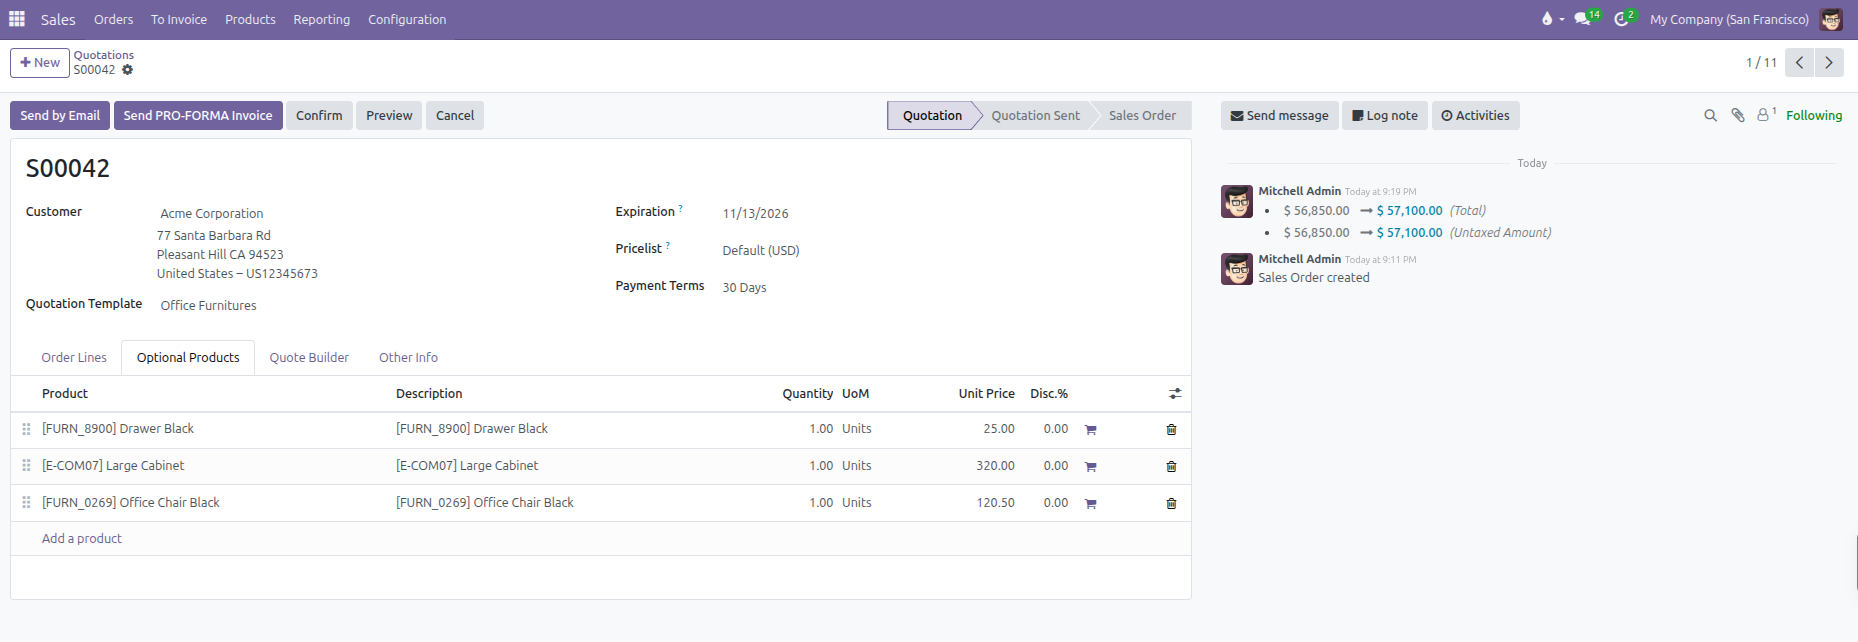
4. Optional Products
Under the Optional Products tab, add suggested accessories or upgrades that customers can choose to include before signing online.
5. Other Info Settings (Optional)
Open the Other Info tab to check commercial, shipping, and accounting details:
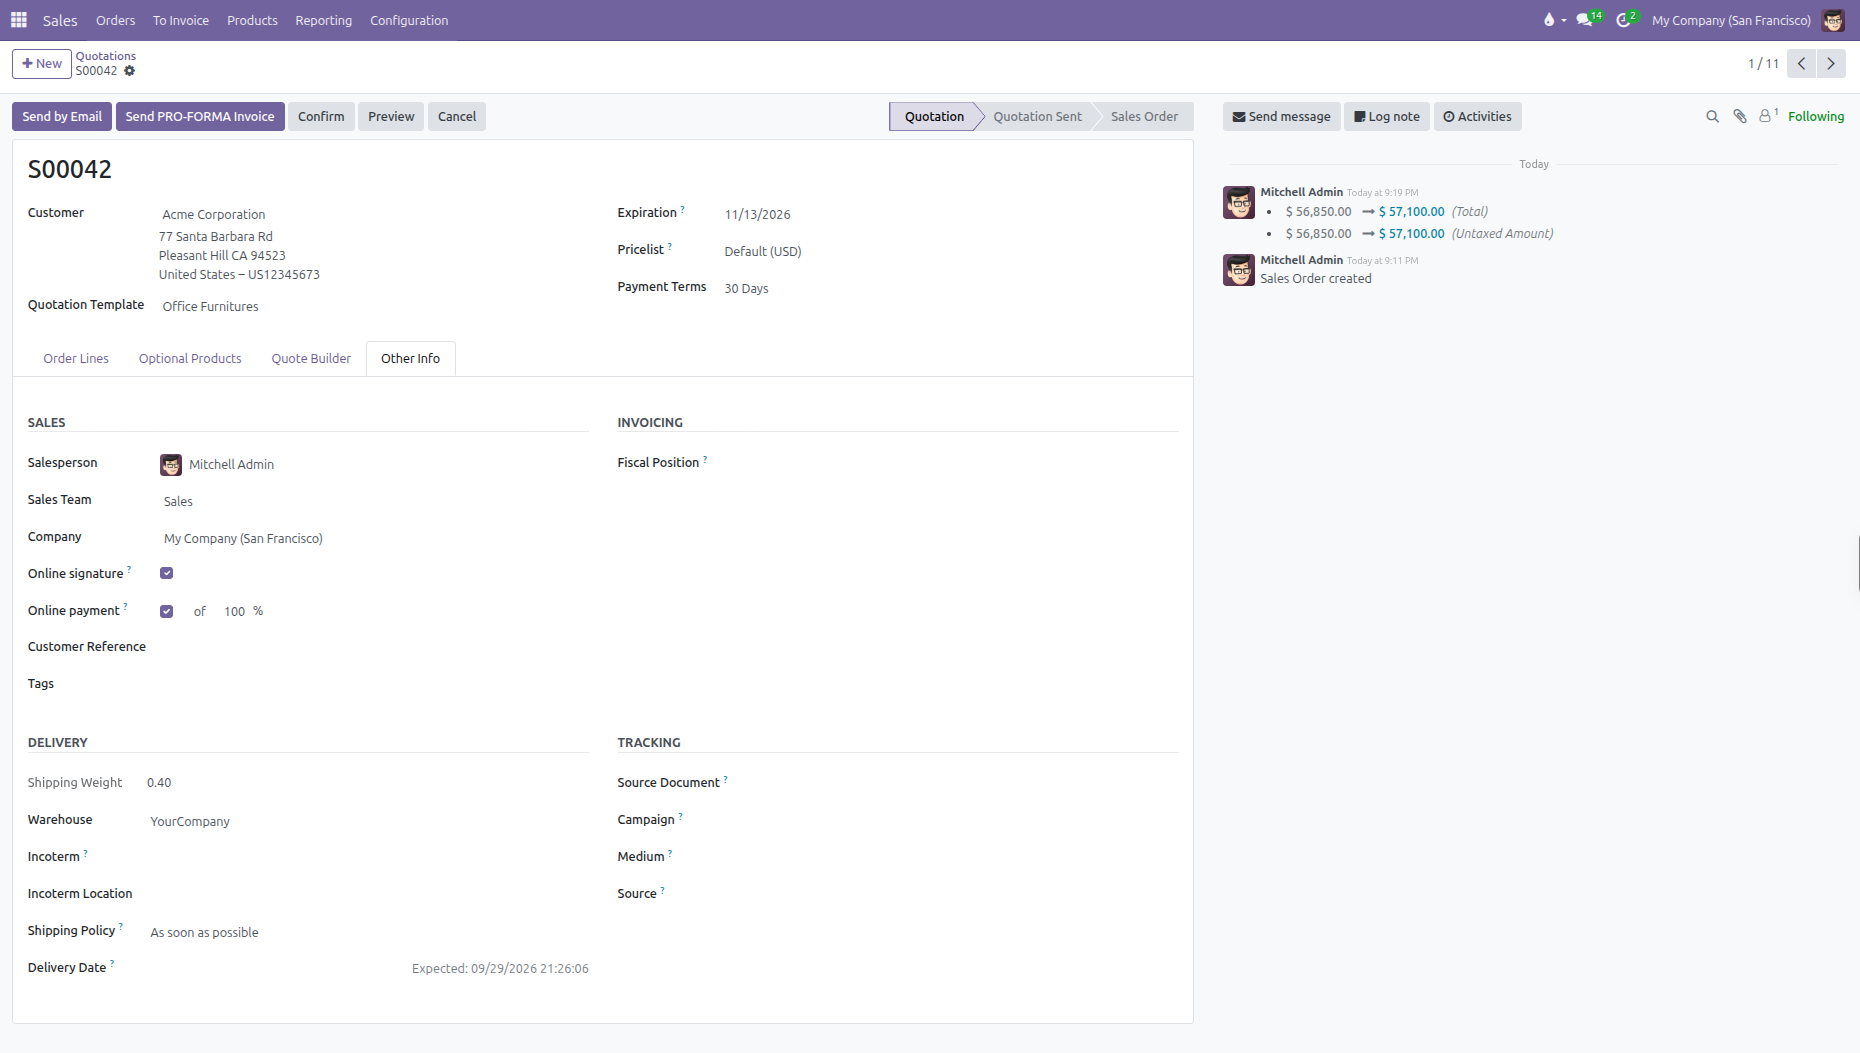
Field |
Description |
|---|---|
Salesperson |
The internal team member managing this deal. |
Sales Team |
The sales group credited for the revenue. |
Online Signature |
Check this box to require the customer to sign online to confirm the order. |
Online Payment |
Check this box to require an online prepayment deposit before confirmation. |
Customer Reference |
Enter the purchase order number provided by the customer. |
Tags |
Add descriptive labels to filter and search this order later. |
Fiscal Position |
Adjusts taxes automatically for international or tax exempt customers. |
Invoicing Journal |
The accounting journal where customer invoices are posted. |
Warehouse |
The warehouse location responsible for packing and shipping the products. |
Shipping Policy |
Choose to ship items as soon as available, or wait for all items together. |
Delivery Date |
The promised delivery or shipment date agreed with the customer. |
Incoterm |
International trade rules such as EXW, FOB, or CIF. |
Tracking |
Trace the source document or marketing campaign that brought in this sale. |
6. Next Steps
Once your quote is complete:
Click Send by Email to email the offer directly to your customer.
Click Print to download a PDF copy.
Click Confirm to turn the quotation into a confirmed sales order.